

Serve it with fresh fruit compote.
Vanilla Chia Pudding
Dessert
Custards puddings creams
Vanilla: Extract
Easy
Your note
Edit

Chia seeds soaked in milk until they swell into a soft, creamy gel, lightly sweetened with maple syrup and vanilla. It needs no cooking, only time in the fridge. Makes 3 jars in about 4 hr 20 min.
Prep
10 min
Cook
10 min
Cooling
4 hr
Total
4 hr 20 min
Servings
3
Diet
Gluten free
Ingredients
Adjust yield
servings
Scales from a half to a double batch; give a bigger batch a little more time.
- 7 tbsp (60 g)chia seeds
- 2 cups (480 ml)whole milk
- 2 tbsp (30 ml)pure maple syrup
- 1 tsp (5 ml)pure vanilla extract
- 1 pinchfine sea salt
Fresh ingredient guides
Baking tools for this recipe
Instructions
- Whisk the milk, maple syrup, vanilla and salt in a bowl or jar.
- Add the chia seeds and whisk well for 1 minute.
- Wait 10 minutes, then whisk again to break up any clumps that have settled.
- Cover and refrigerate for at least 4 hours or overnight, until thick and spoonable.
- Stir, adding a splash of milk if too thick, and divide among three jars.
Tips
- Whisk twice, 10 minutes apart; this is the key step for a smooth gel.
- Use 1 part chia to about 6 to 8 parts liquid by volume for a soft pudding.
- Plant milks work well and make it vegan.
- Good with fresh fruit compote.
Made this?
Log it to keep your bakes, ratings and notes together in My Kitchen.
Be the first to share one.
How did it turn out?
Recipe FAQ
How long does it take to make vanilla chia pudding?
Plan on 10 minutes of prep and 10 minutes of cooking, plus 4 hours to chill. The recipe makes 3 jars (3 servings).
How should I store vanilla chia pudding?
Refrigerate covered for up to 5 days.
Can I make vanilla chia pudding ahead?
Yes. It needs time to chill and set, so it is a good one to make the day before you serve it.
Can I use a different form of vanilla?
Yes. This recipe uses 1 tsp pure vanilla extract (5 ml). Each teaspoon of pure vanilla extract can be swapped for 1 teaspoon of vanilla bean paste, the seeds of half a vanilla bean, or 1/2 teaspoon of vanilla powder. Paste and seeds add the classic dark specks.
Estimated · per serving
Nutrition
Per serving = 1 of 3 servings this recipe makes.
242
Calories / serving
11.6g
Fat
26.8g
Carbs
8.7g
Protein
18.9g
Sugar
Whole recipe (3 servings): ~726 cal · 35g fat · 80g carbs · 26g protein · 57g sugar
Estimated values per serving, calculated from standard ingredient data. Not verified Nutrition Facts; actual values vary with brands, measurements, and preparation.
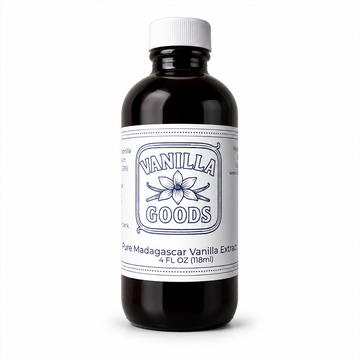
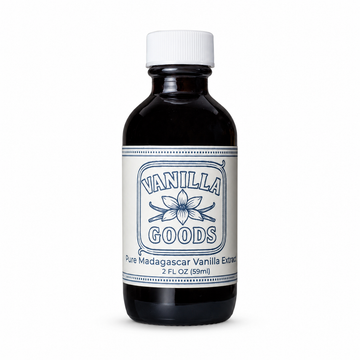
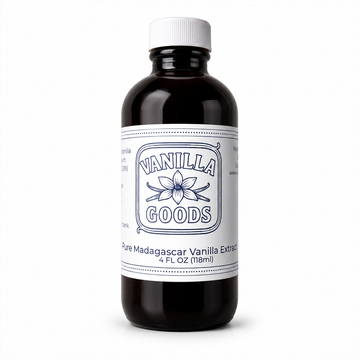
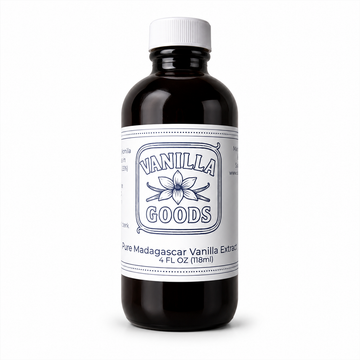
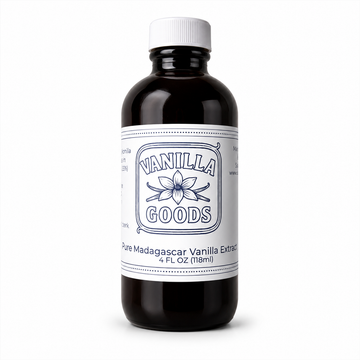
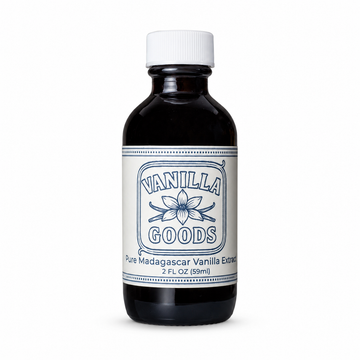
Made with VanillaGoods


Recipe Rating
0 commentsNo comments yet — be the first to share how this turned out for you.
Leave a comment