

Serve it with green tea.
Mitarashi Dango with Sweet Soy Glaze
Dessert
Candy confections
Easy
Your note
Edit

Chewy, soft dumplings grilled lightly and brushed with a glossy glaze. They are made with two rice flours for a springy bite. Makes 12 dumplings in about 35 minutes.
Prep
20 min
Cook
15 min
Total
35 min
Yield
12 dumplings
Diet
Dairy free, Vegan
Ingredients
Adjust yield
dumplings
Scales from a half to a double batch; give a bigger batch a little more time.
- ¾ cup (100 g)joshinko (rice flour)
- ¾ cup (100 g)shiratamako (glutinous rice flour)
- ¾ cup (200 ml)hot water
- 3 tbsp (45 ml)soy sauce
- ⅓ cup (60 g)granulated sugar
- ½ cup (120 ml)water
- ¼ oz (10 g)potato starch
Baking tools for this recipe
Instructions
- Mix both flours in a bowl, add the hot water gradually and knead 5 minutes until it feels like an earlobe. Rest 10 minutes.
- Roll into 12 balls of equal size.
- Boil the dumplings in plenty of water until they float, then cook 3 minutes more. Move to ice water and drain.
- Thread 3 dumplings on each skewer.
- Whisk glaze ingredients in a small pan and cook, stirring, until clear and thick, about 2 minutes.
- Lightly toast the dumplings in a dry nonstick pan until they have light golden spots, then brush with the glaze and serve.
Tips
- Use warm, not boiling, water for the dough if too sticky.
- Eat the same day.
- Shiratamako keeps them soft longer.
- Good with green tea.
Made this?
Log it to keep your bakes, ratings and notes together in My Kitchen.
Be the first to share one.
How did it turn out?
Recipe FAQ
How long does it take to make mitarashi dango with sweet soy glaze?
Plan on 20 minutes of prep and 15 minutes of cooking. The recipe makes 12 dumplings.
How should I store mitarashi dango with sweet soy glaze?
Best eaten the same day; they harden when chilled.
Can I make mitarashi dango with sweet soy glaze ahead?
It is at its best the day it is made; prepare it a few hours before serving.
Is this recipe vegan?
Yes, as written. Check that packaged ingredients such as chocolate, sprinkles and plant butter are labeled vegan.
Estimated · per serving
Nutrition
Per serving = 1 of 12 servings this recipe makes.
83
Calories / serving
0.3g
Fat
18.7g
Carbs
1.3g
Protein
5.0g
Sugar
Whole recipe (12 servings): ~996 cal · 4g fat · 224g carbs · 16g protein · 60g sugar
Estimated values per serving, calculated from standard ingredient data. Not verified Nutrition Facts; actual values vary with brands, measurements, and preparation.
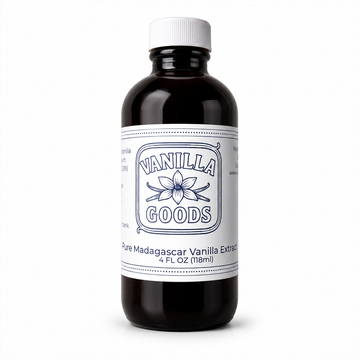
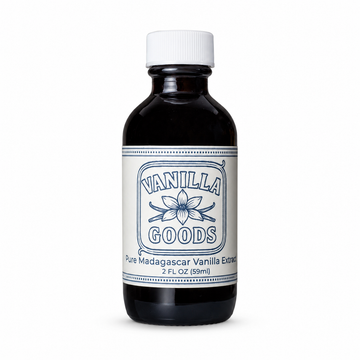
Made with VanillaGoods


Recipe Rating
0 commentsNo comments yet — be the first to share how this turned out for you.
Leave a comment